When you start the drawer after that you will be redirected to the Sales screen where all the details related to products and sale items will be shown. Please refer to the below screenshot:
On the top of the sales screen Order ID, Terminal ID, Cashier Name, Store location, date, and time will be displayed.
Below the header, the customer name is displayed if the cashier selects the customer else the default Walk-in Customer shows.
When you search for the product via barcode or by product name, the product will get added to the POS sell screen.
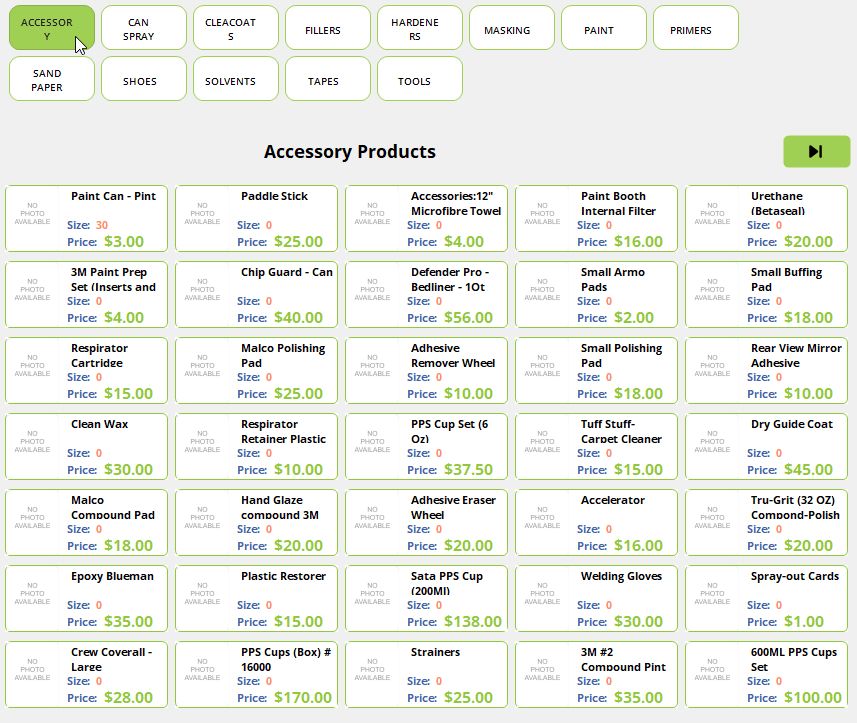
Just by clicking on the products, products will get added to the POS sell screen.
When you click multiple times on products the products quantity gets increased.
Print Last Order will print the last order of the POS sells.
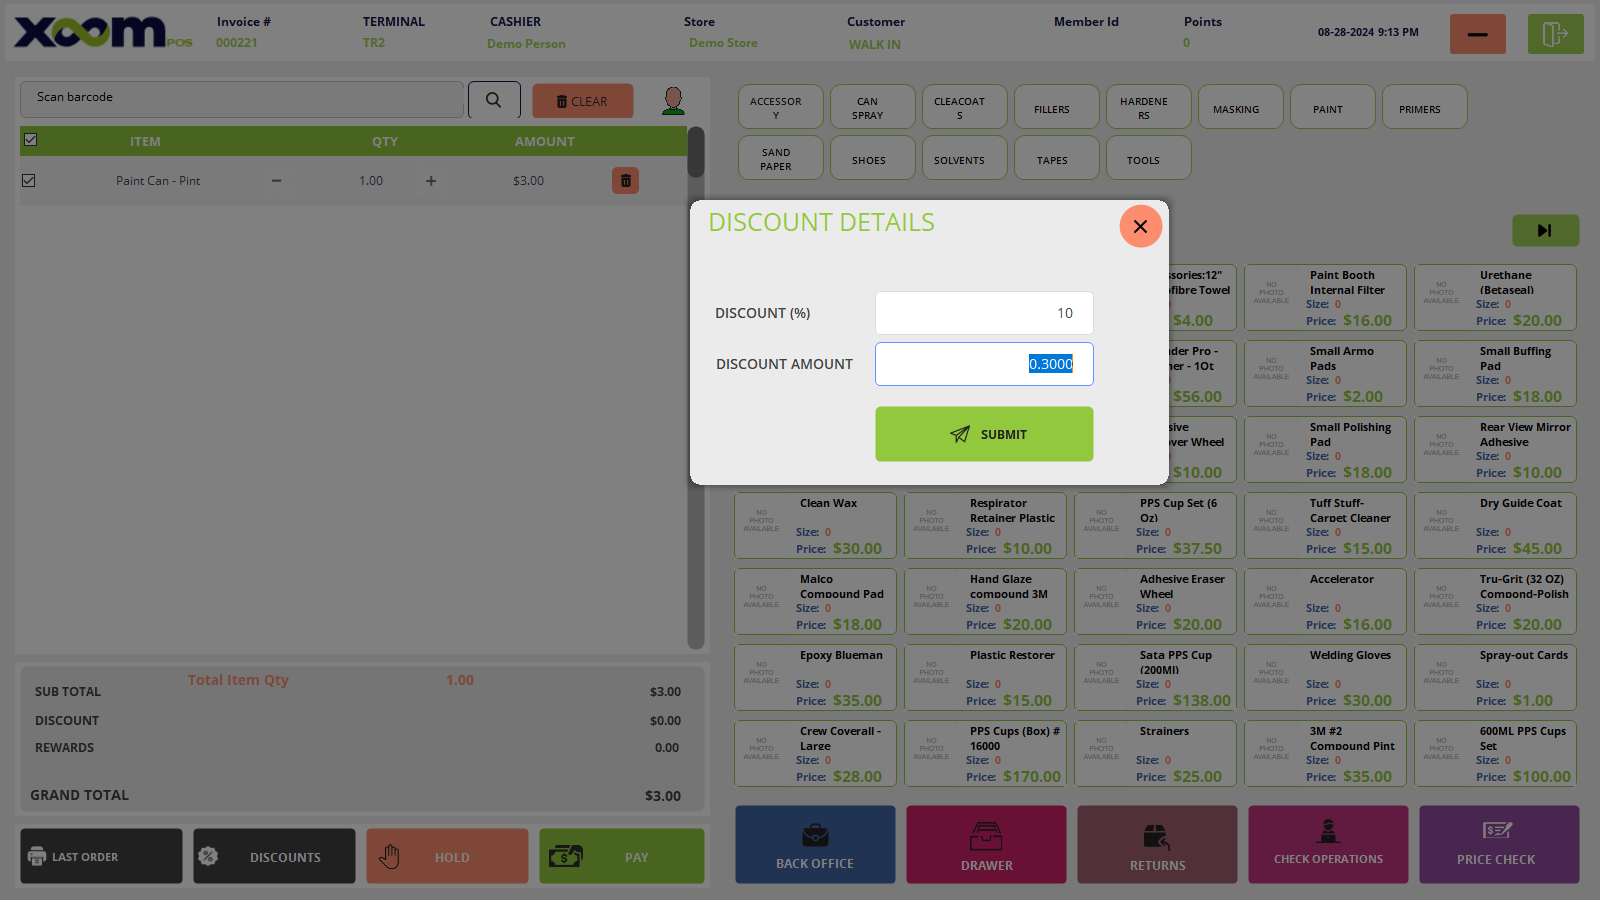
Discounts option is used to give discounts to the particular users. Please refer to the attached screenshot where you have to add the discount.
The cashier can add the percentage discount(%) and the discount amount is auto-added to the product or we can also add the discount amount rather than the percentage auto-shows.
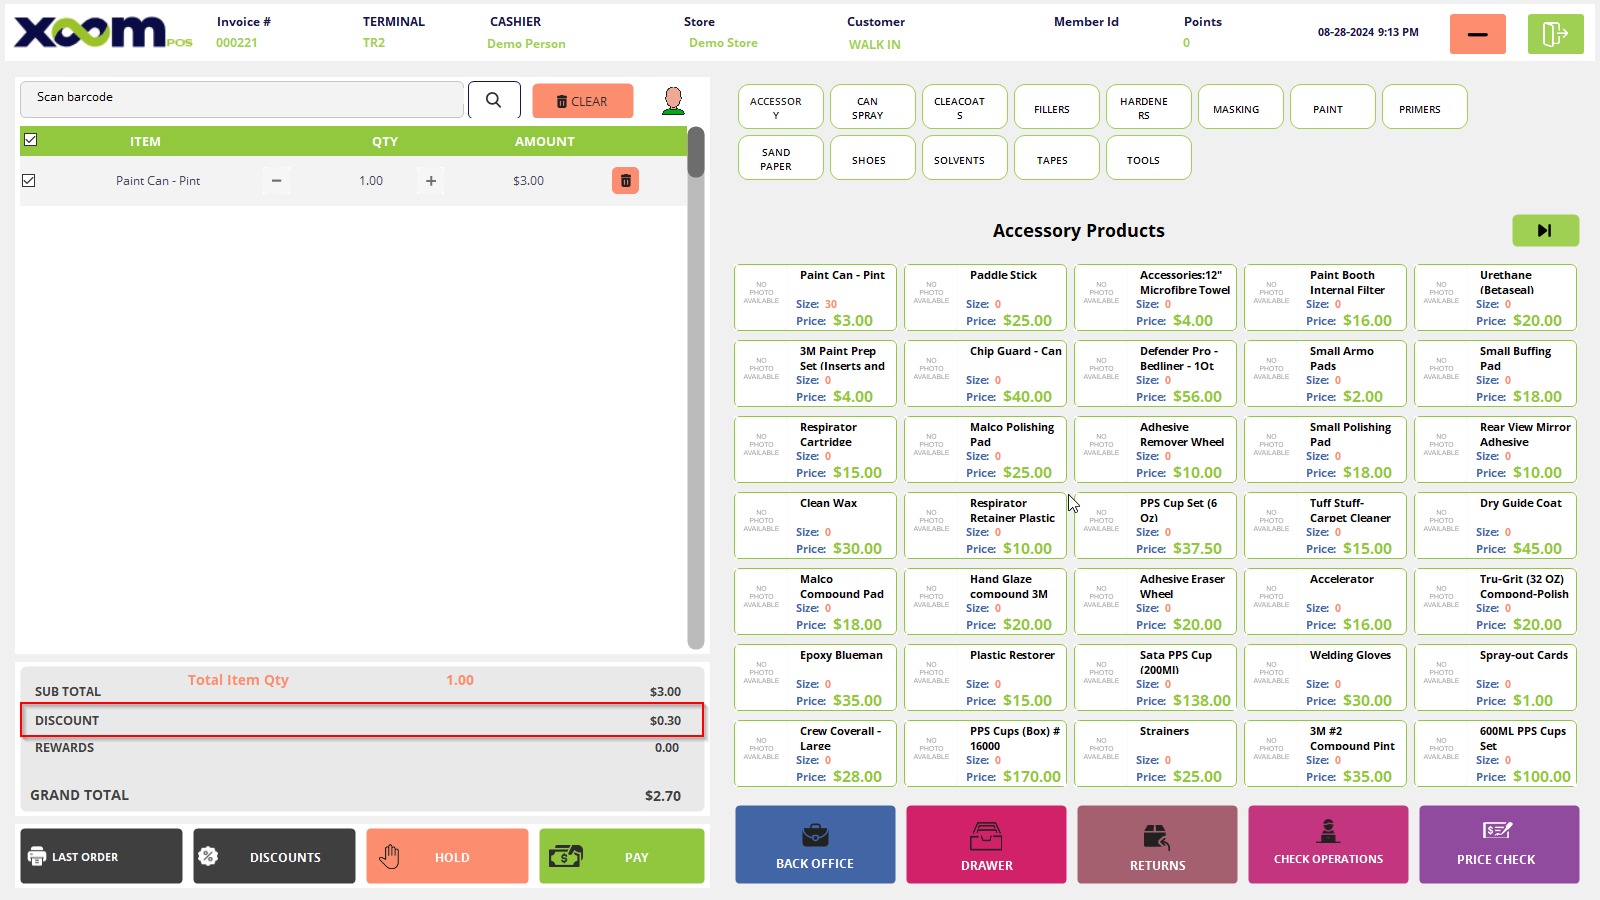
After adding discounts, click on SUBMIT and added discount will be applied to the total price. Please refer to the below screenshot where the discount will be displayed.
The hold option is used to hold the current sales and wait for some time until the customer wants to complete that order and you can resume the sales whenever the customer wants.